
4. Getting Started
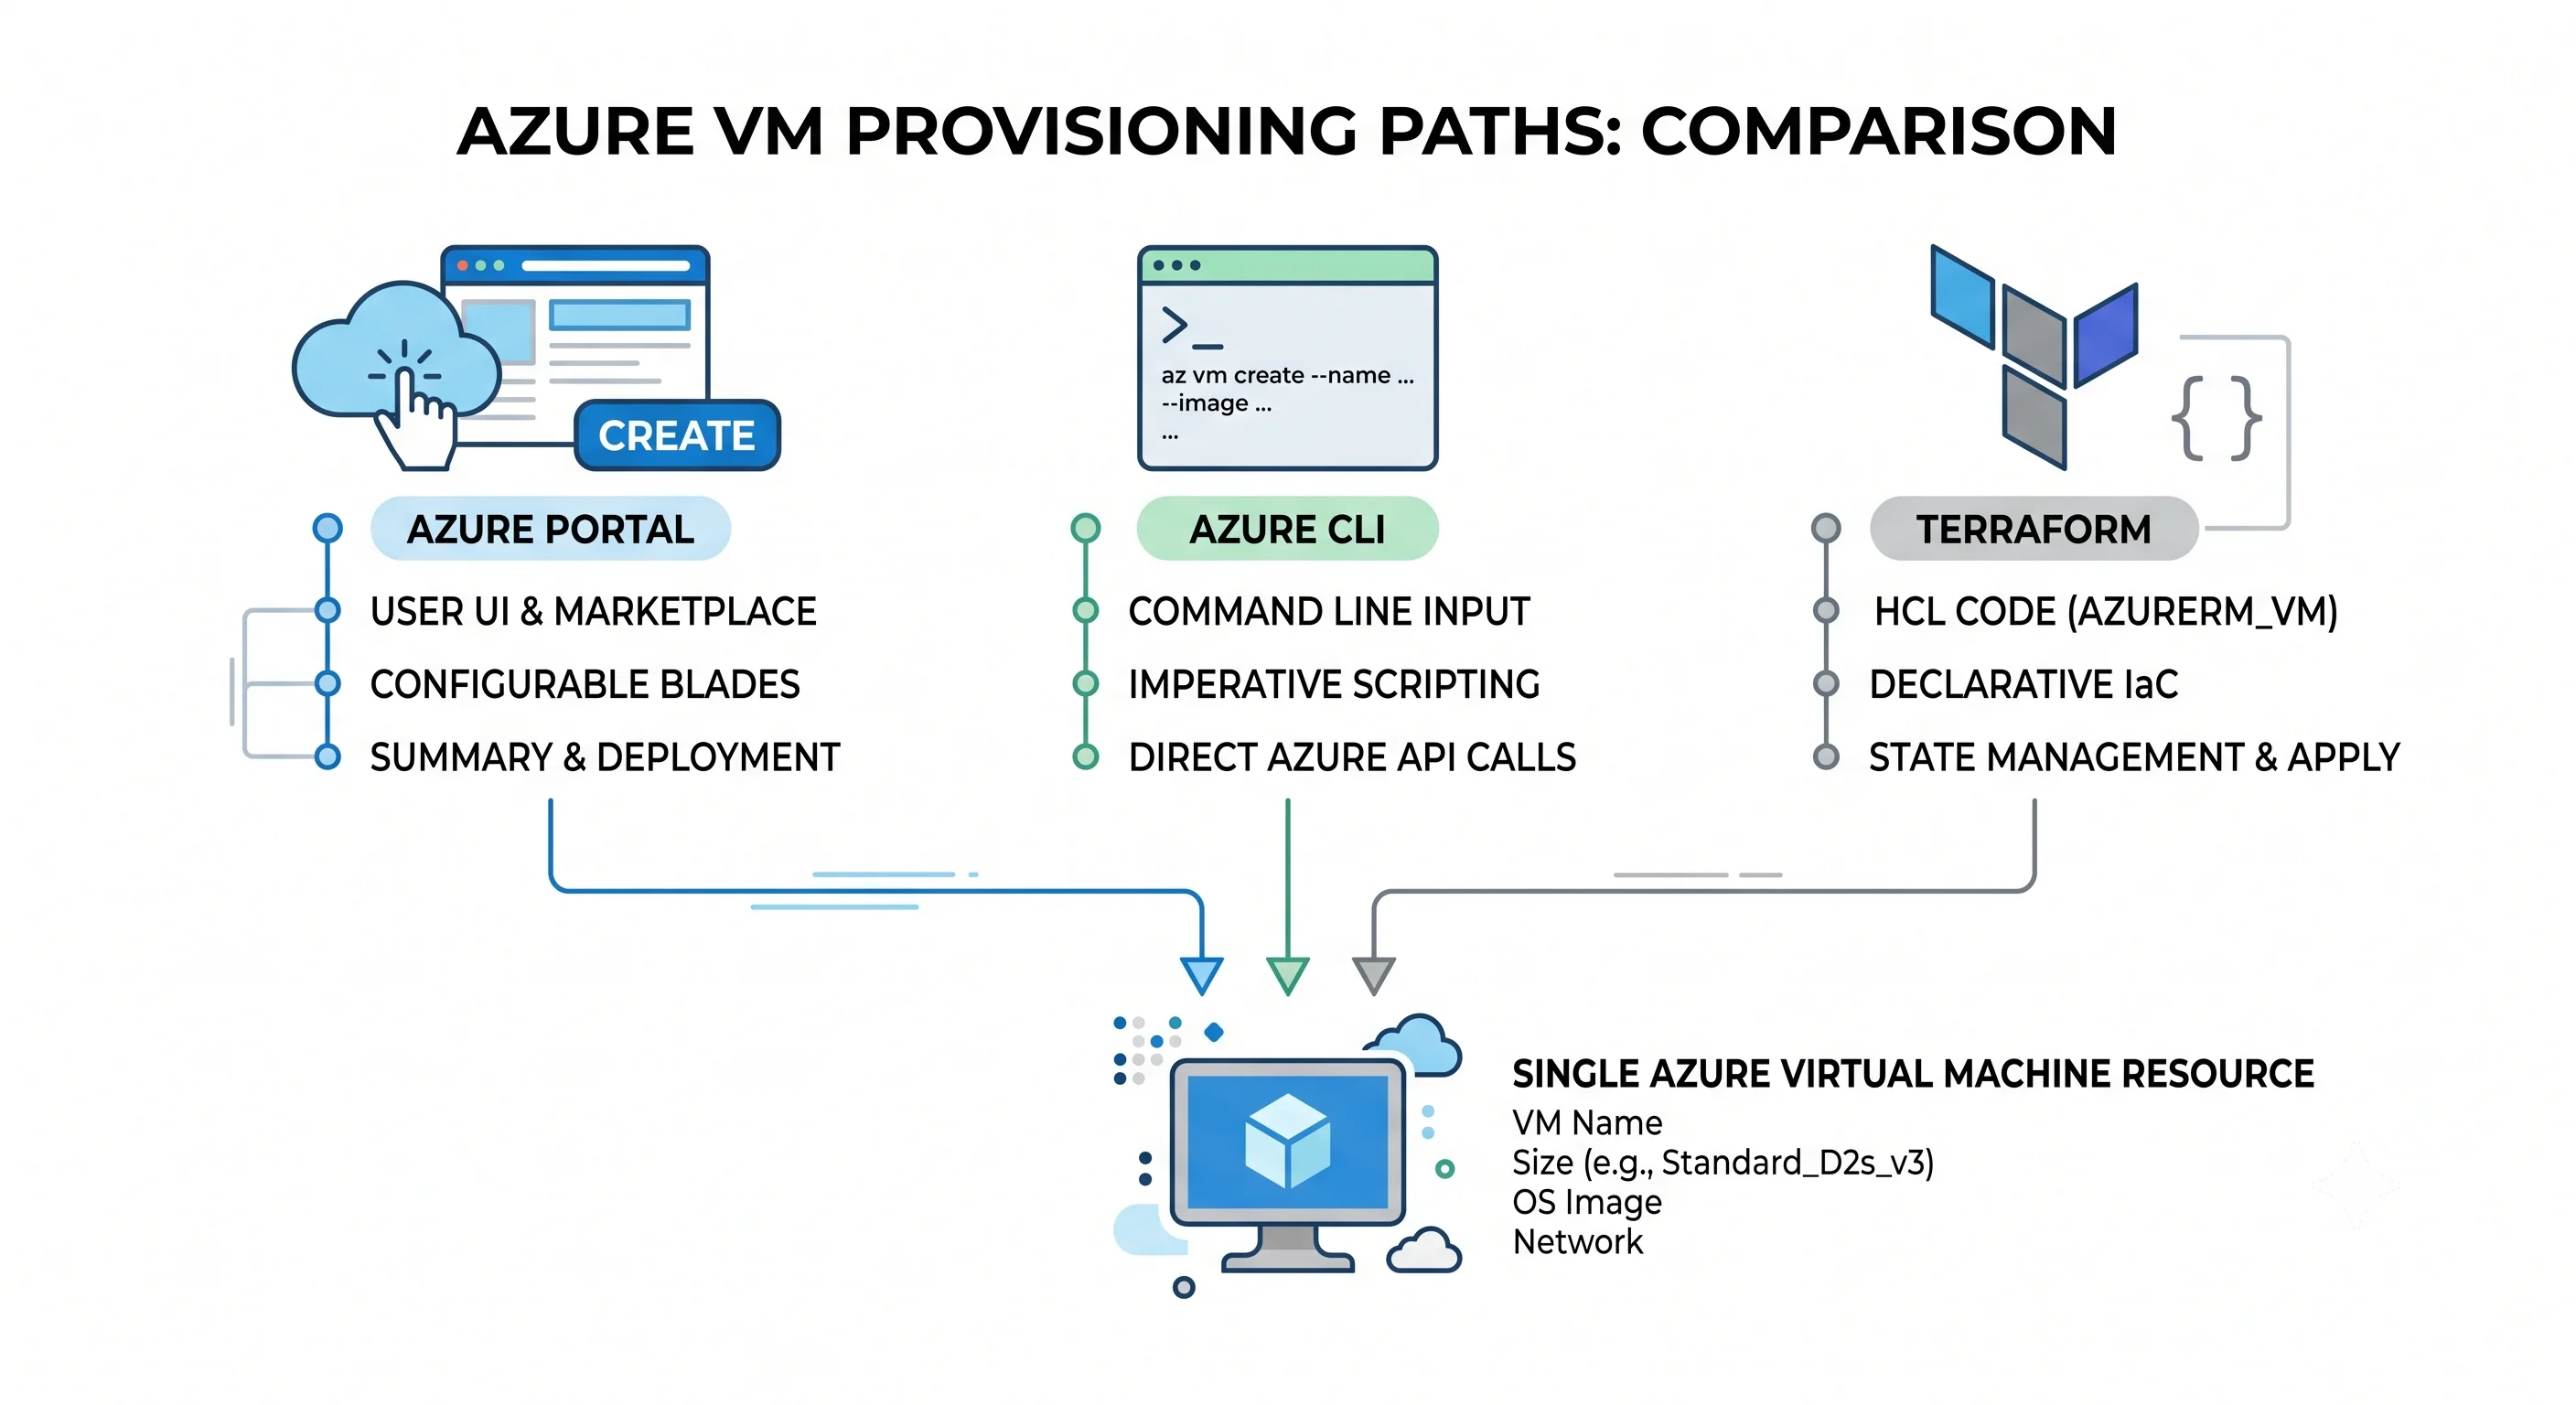
One Linux VM, three ways. The goal is to prove the service works and to see the same result arrive through the portal, the CLI, and Terraform — because real jobs and real interviews use all three.
This page is deliberately throwaway. Hard-coded names, no variables, no remote state, no pipeline, and a password-free SSH key generated on the spot. Nothing here should survive contact with a pull request; the production-shaped version is in Deployment.
Always create a throwaway resource group first and delete that at the end. Deleting a resource group removes everything inside it in one command — the cleanest teardown any cloud offers, and genuinely better than chasing orphaned EBS volumes in AWS.
Before you start
az login
az account show -o table              # confirm you're in the right subscription
az account set --subscription "<name-or-id>"
You need permission to create resources in the subscription — Contributor on a resource group is
enough. If az vm create later fails with a quota error rather than a permissions error, see the
quota discussion in Production.
Path 1 — the Azure Portal
Fastest to grasp, impossible to repeat. Blade names rather than an exact button chain, because the portal's navigation moves:
- From Virtual machines, choose Create → Azure virtual machine.
- On Basics: create a new resource group
rg-vm-demo, name the VMvm-demo, pick a region, choose an Ubuntu LTS image, set the size to something small likeStandard_B2s, and select SSH public key with Generate new key pair. Leave inbound ports as None for now. - On Disks: leave the OS disk at Standard SSD. Note the Delete with VM checkbox — it is the difference between a clean teardown and an orphaned disk billing you forever. Tick it.
- On Networking: accept the new VNet and subnet, and note that the portal is also creating a NIC, a public IP, and an NSG on your behalf. That's the constellation from Core Concepts, made concrete.
- Review + create, then download the private key when prompted — it is offered exactly once.
Before leaving the portal, open the VM's Overview blade and find Download template for automation (also reachable from the deployment record). It shows the ARM JSON the portal just generated. Reading it once is the fastest way to understand that the portal is simply an ARM client.
Path 2 — the Azure CLI
Copy-pasteable, repeatable, scriptable. This is the version worth actually knowing.
# 1. A throwaway resource group — the unit of teardown
az group create -n rg-vm-demo -l uksouth

# 2. One VM, with a generated SSH key pair written to ~/.ssh
az vm create \
  --resource-group rg-vm-demo \
  --name vm-demo \
  --image Ubuntu2404 \
  --size Standard_B2s \
  --admin-username azureuser \
  --generate-ssh-keys \
  --public-ip-sku Standard \
  --os-disk-delete-option Delete \
  --nic-delete-option Delete \
  --output table

# 3. Open SSH from *your* IP only — never 0.0.0.0/0, not even for a demo
MYIP=$(curl -s https://api.ipify.org)
az vm open-port --resource-group rg-vm-demo --name vm-demo --port 22 --priority 1001
az network nsg rule update \
  --resource-group rg-vm-demo \
  --nsg-name vm-demoNSG \
  --name open-port-22 \
  --source-address-prefixes "$MYIP/32"

# 4. Connect
az ssh vm --resource-group rg-vm-demo --name vm-demo
# ...or classically:
IP=$(az vm show -d -g rg-vm-demo -n vm-demo --query publicIps -o tsv)
ssh azureuser@"$IP"
Three flags in that create command are doing more work than they look:
--os-disk-delete-option Deleteand--nic-delete-option Deletemake the disk and NIC die with the VM. Without them,az vm deleteleaves both behind, and the disk keeps billing. This is the single most common source of mystery charges on a personal subscription.--public-ip-sku Standardis the only supported choice now (Basic is retired), and Standard IPs are secure by default — nothing reaches the VM until an NSG rule allows it, which is why step 3 is a separate step.
Useful things to try while it exists
# The power states people conflate — watch the difference
az vm show -d -g rg-vm-demo -n vm-demo --query powerState -o tsv

az vm stop       -g rg-vm-demo -n vm-demo   # guest shuts down, hardware STILL HELD, still billed
az vm deallocate -g rg-vm-demo -n vm-demo   # hardware released, compute charge stops
az vm start      -g rg-vm-demo -n vm-demo   # re-placed on a host — this is where allocation can fail

# Attach a data disk
az vm disk attach -g rg-vm-demo --vm-name vm-demo \
  --name disk-demo-data --new --size-gb 32 --sku Premium_LRS

# Run a command inside the guest with no inbound network path at all
az vm run-command invoke -g rg-vm-demo -n vm-demo \
  --command-id RunShellScript --scripts "uname -a && lsblk"

# Give the VM its own identity, then let it read its own resource group
az vm identity assign -g rg-vm-demo -n vm-demo
PRINCIPAL=$(az vm show -g rg-vm-demo -n vm-demo --query identity.principalId -o tsv)
RG_ID=$(az group show -n rg-vm-demo --query id -o tsv)
az role assignment create --assignee "$PRINCIPAL" --role Reader --scope "$RG_ID"

# From *inside* the VM — the managed identity in action, no secret anywhere
curl -sH Metadata:true \
  "http://169.254.169.254/metadata/identity/oauth2/token?api-version=2018-02-01&resource=https://management.azure.com/"

# Boot diagnostics — the tool you'll wish you'd enabled before the guest wedged
az vm boot-diagnostics get-boot-log -g rg-vm-demo -n vm-demo
The run-command and identity examples are worth doing properly rather than skimming. run-command
demonstrates the control-plane-is-data-plane point from Architecture —
you just executed a shell command as root with no SSH key and no open port. The IMDS curl
demonstrates the mechanism that replaces every connection string you'd otherwise write into a config
file.
PowerShell equivalent
Worth including for VMs specifically — Windows-heavy shops live in Az PowerShell, and VM work is
where that's most likely.
New-AzResourceGroup -Name rg-vm-demo -Location uksouth

New-AzVm `
  -ResourceGroupName 'rg-vm-demo' `
  -Name 'vm-demo' `
  -Location 'uksouth' `
  -Image 'Ubuntu2404' `
  -Size 'Standard_B2s' `
  -PublicIpSku 'Standard' `
  -OpenPorts 22

Get-AzVM -ResourceGroupName rg-vm-demo -Name vm-demo -Status | Select-Object -Expand Statuses
Stop-AzVM -ResourceGroupName rg-vm-demo -Name vm-demo -Force   # note: this DEALLOCATES
One trap: Stop-AzVM deallocates by default, unlike az vm stop, which doesn't. Use
Stop-AzVM -StayProvisioned if you really want the billed-but-stopped state. The asymmetry between
the two CLIs is a genuine source of accidental bills.
Path 3 — Terraform (minimal)
Deliberately the smallest thing that works — hard-coded, local state, no modules. The parameterised version is in Deployment.
terraform {
  required_providers {
    azurerm = {
      source  = "hashicorp/azurerm"
      version = "~> 4.0"
    }
  }
}

provider "azurerm" {
  features {}
}

resource "azurerm_resource_group" "demo" {
  name     = "rg-vm-demo-tf"
  location = "uksouth"
}

resource "azurerm_virtual_network" "demo" {
  name                = "vnet-demo"
  address_space       = ["10.10.0.0/16"]
  location            = azurerm_resource_group.demo.location
  resource_group_name = azurerm_resource_group.demo.name
}

resource "azurerm_subnet" "demo" {
  name                 = "snet-demo"
  resource_group_name  = azurerm_resource_group.demo.name
  virtual_network_name = azurerm_virtual_network.demo.name
  address_prefixes     = ["10.10.1.0/24"]
}

resource "azurerm_network_interface" "demo" {
  name                = "nic-demo"
  location            = azurerm_resource_group.demo.location
  resource_group_name = azurerm_resource_group.demo.name

  ip_configuration {
    name                          = "internal"
    subnet_id                     = azurerm_subnet.demo.id
    private_ip_address_allocation = "Dynamic"
  }
}

resource "azurerm_linux_virtual_machine" "demo" {
  name                            = "vm-demo-tf"
  resource_group_name             = azurerm_resource_group.demo.name
  location                        = azurerm_resource_group.demo.location
  size                            = "Standard_B2s"
  admin_username                  = "azureuser"
  network_interface_ids           = [azurerm_network_interface.demo.id]
  disable_password_authentication = true

  admin_ssh_key {
    username   = "azureuser"
    public_key = file("~/.ssh/id_rsa.pub")
  }

  os_disk {
    caching              = "ReadWrite"
    storage_account_type = "StandardSSD_LRS"
  }

  source_image_reference {
    publisher = "Canonical"
    offer     = "ubuntu-24_04-lts"
    sku       = "server"
    version   = "latest"
  }
}

output "private_ip" {
  value = azurerm_network_interface.demo.private_ip_address
}
terraform init
terraform plan
terraform applyNote there's no public IP here at all — the VM is reachable only from inside the VNet. That's a better default than the CLI path above, and reaching it is what Azure Bastion is for.
Two things to notice while reading this file:
azurerm_linux_virtual_machineandazurerm_windows_virtual_machineare separate resources, distinct from the older, more verboseazurerm_virtual_machine. Use the OS-specific ones; the generic one is legacy and much harder to read.- The NIC is its own resource block, exactly as described in Core Concepts. Terraform makes the constellation impossible to ignore, which is a large part of why writing infrastructure this way teaches you the platform faster than the portal does.
Teardown
Do this. Now, not later.
# CLI and portal paths
az group delete -n rg-vm-demo --yes --no-wait

# Terraform path
terraform destroy
az group delete is the whole story for this page — one command removes the VM, the disks, the NIC,
the public IP, the NSG, and the VNet together. That's the payoff for the resource-group discipline at
the top.
Two caveats that matter more once you're past demos: a resource lock (CanNotDelete) on
anything inside will make the delete fail, and resources with soft delete (Key Vault, Recovery
Services vault items) leave a tombstone that still holds the name. Neither applies here, but both
appear in Deployment, where you'll meet them for real.
Confirm nothing is left, especially if you created disks by hand at any point:
# The classic orphan check — unattached disks still bill
az disk list --query "[?diskState=='Unattached'].{name:name, rg:resourceGroup, gb:diskSizeGb}" -o table
Next: Deployment →
← Back to the Virtual Machines overview · ← Previous: Architecture